
Make the board yours: skins
A board about a 1940s murder shouldn’t look like a board about your novel’s magic system. In String Theory, the whole look of a board (colors, fonts, background, even how photos are treated) is a skin, and it’s kept separate from your data. Change the skin and nothing about your entities or connections moves. Only the mood does.
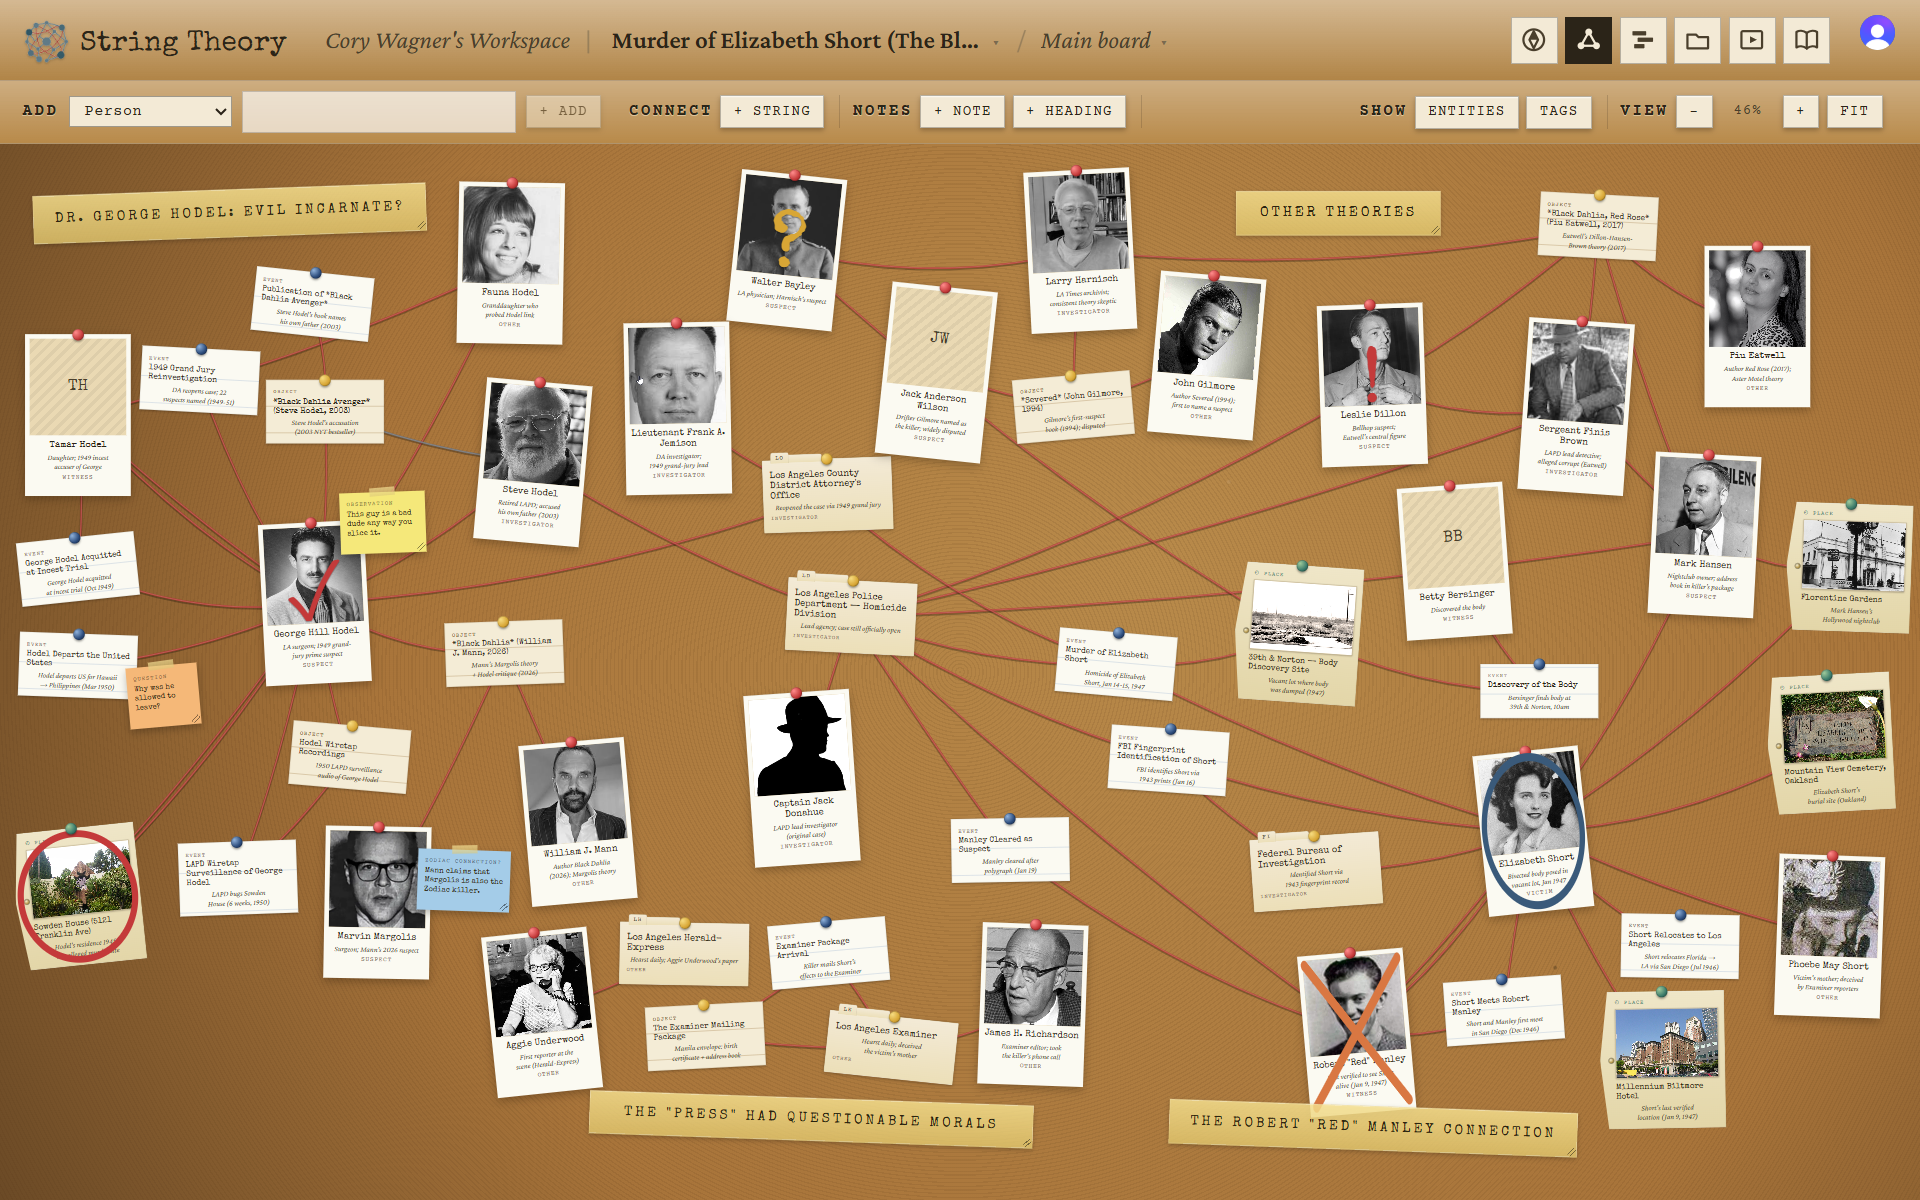 The same board and the same data. The Noir skin does all of this.
Where to find it
Open Project settings and look under Appearance. You’ll get a gallery of presets to start from, plus knobs for the palette, density, fonts, board background, and photo filters, plus a Skin panel where you can save the whole look under a name and reuse it on any other board in your workspace.
Tips
- Start from a preset, then tweak. Four ship today: Noir (kraft paper, cork, and typewriter type), Vanilla (clean, modern, flat), Parchment (aged vellum, oxblood ribbon, and engraved serif), and Jazz Age (champagne invitation stock, brass and claret, and a Deco font). All four are tuned to be legible. Nudge the palette from there instead of starting from a blank slate.
- Watch the legibility guardrail. If a color pairing gets hard to read, String Theory warns you before you commit it. Trust it, because a board you can’t read isn’t a fun board.
- Save what you like. A skin you’re happy with can be saved to your library and reused on other boards, so a look you invented once becomes a one-click choice later.
- Let AI take a swing. Describe the feel you want (“rain-soaked, neon, late-night”) and generate a starting skin from the prompt, then refine by hand.
Skins are data rather than code, which is why a look you build is portable across every board in your workspace.